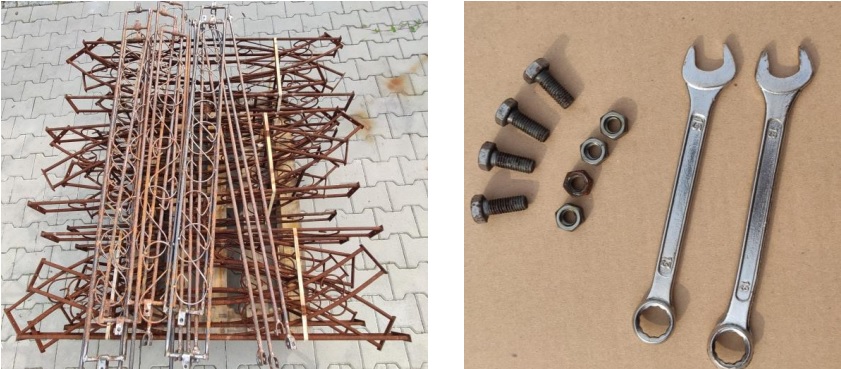
Instructions for folding rose arches What do you need?
- 2x flat wrench size 13
- Photo of the rose arch you ordered to facilitate assembly
- Instructions included in the packaging facilitate assembly
Step 1. Unpack the package and disassemble all the elements. The kit should include a rose arch + screws (8x) for a key 13
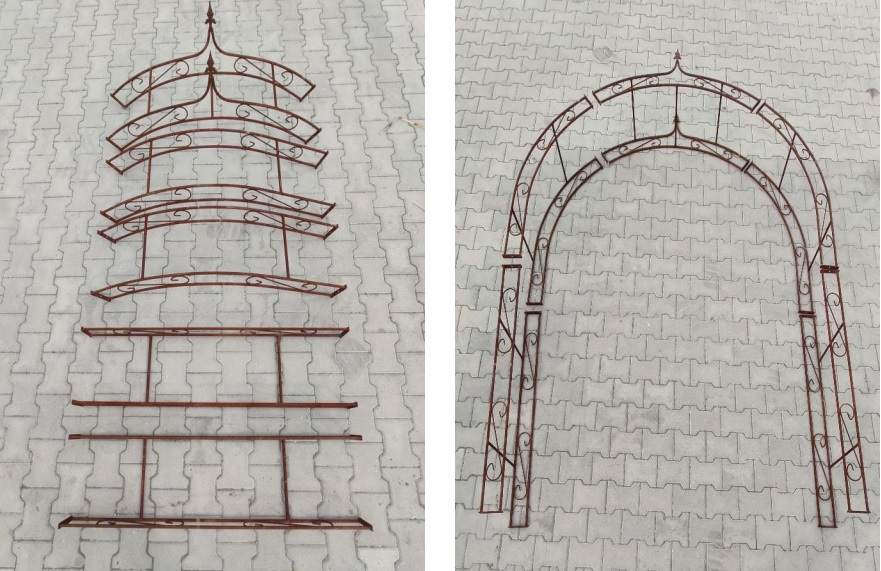
(Normally there are 2/3 arches and 2 legs for a rose arch)

Step 2. Arrange all the elements to resemble the sheet you purchased to check that everything is complete and fits together.

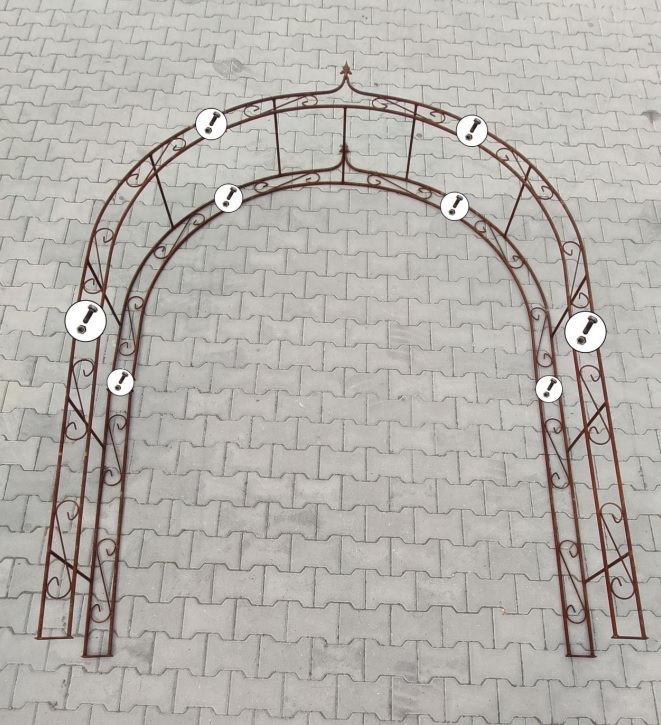
Step 3. When all the elements match the pattern and color, you can start assembling the rose arch. Using the screws provided, screw all the elements together and tighten them with size 13 wrenches. The photo shows the places where the rose arch's softeners are connected with screws

Instructions for folding rose arches tunnel
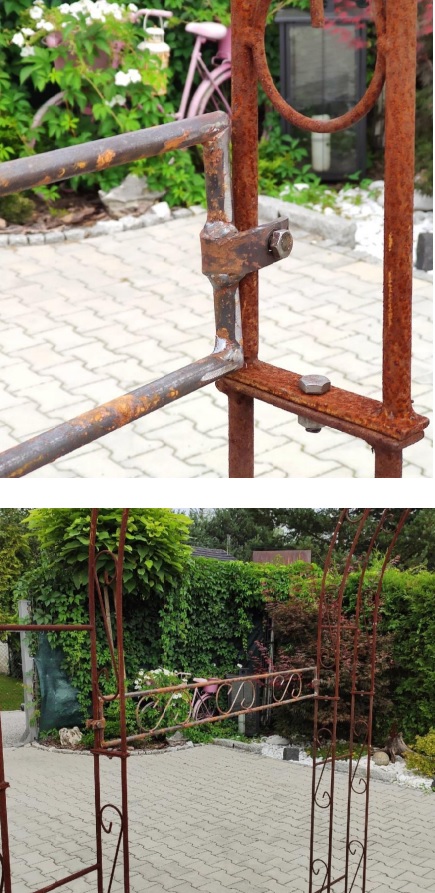
Step 1. The rose arch you ordered should come with fittings that you can use to connect the rose arches. Depending on whether you chose the 2 or 3 rose arch version, you should get 4 connectors and 4 poles or 8 connectors and 8 poles. Make sure you have all of them and then assemble the tunnel

Step 2. The fasteners are twisted with special screws that are longer than the ones you will use to twist the rose arch. Use them to twist the plugs. Make sure you place them at the same height. The screws are tightened with a key number 13


